I have build a tutorial in my native, Dutch language for building your own private NAS-like, mediaserver. I’ve choosen this route instead of the well known Synology or QNAP one. I found them too restricted, I prefer having full control. That was done for ClearOS 6. Now the Release Canditate of ClearOS 7 is out. Let’s build a new machine which can do the same (and more) for your NAS needs. This time – by popular demand – I’m doing it in English. Let’s start.
Post Installation Wizard
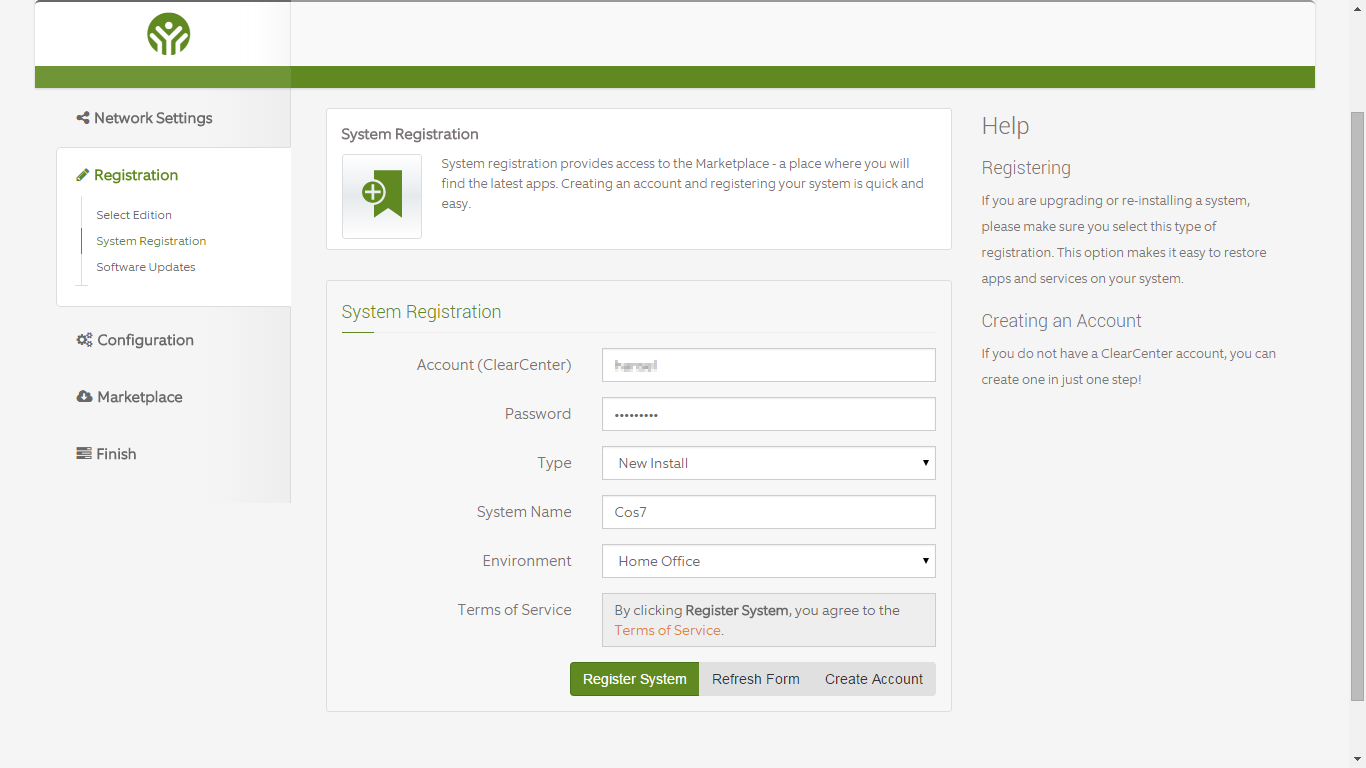
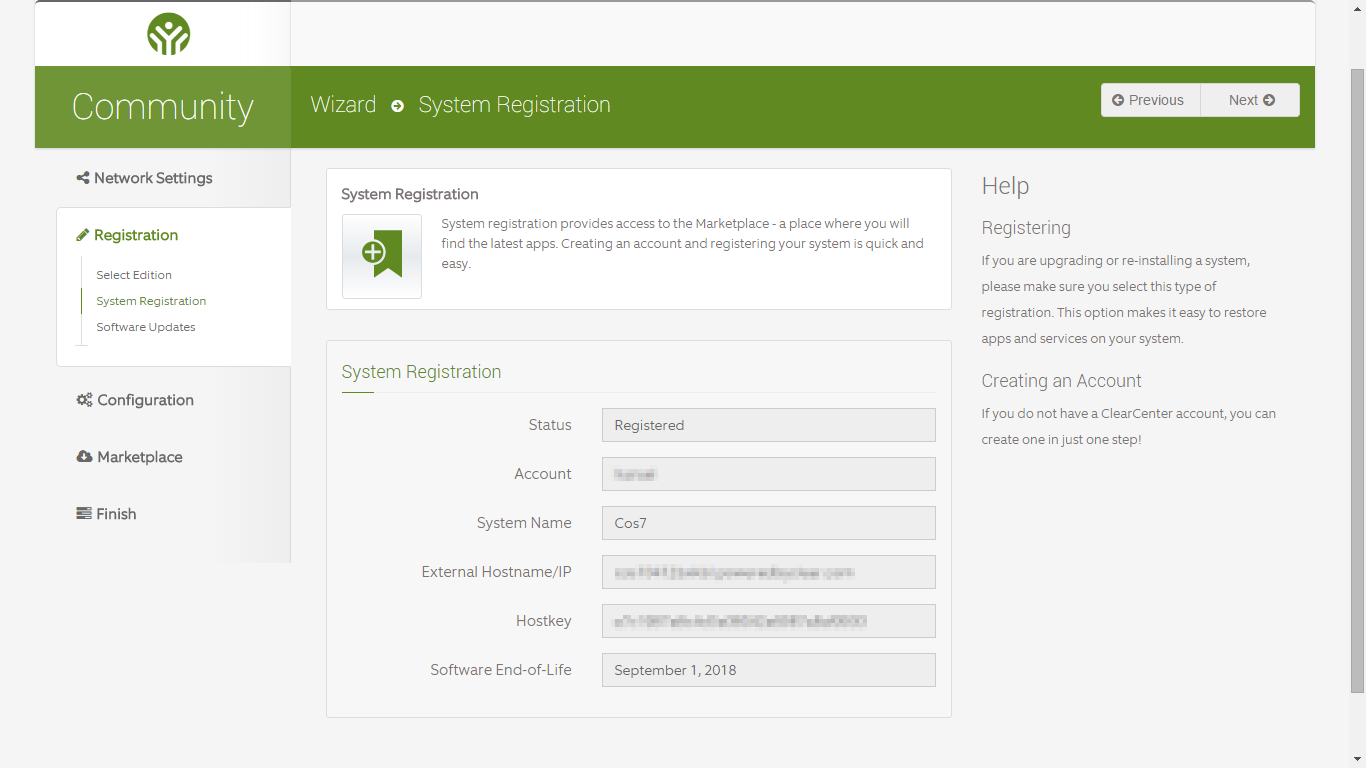
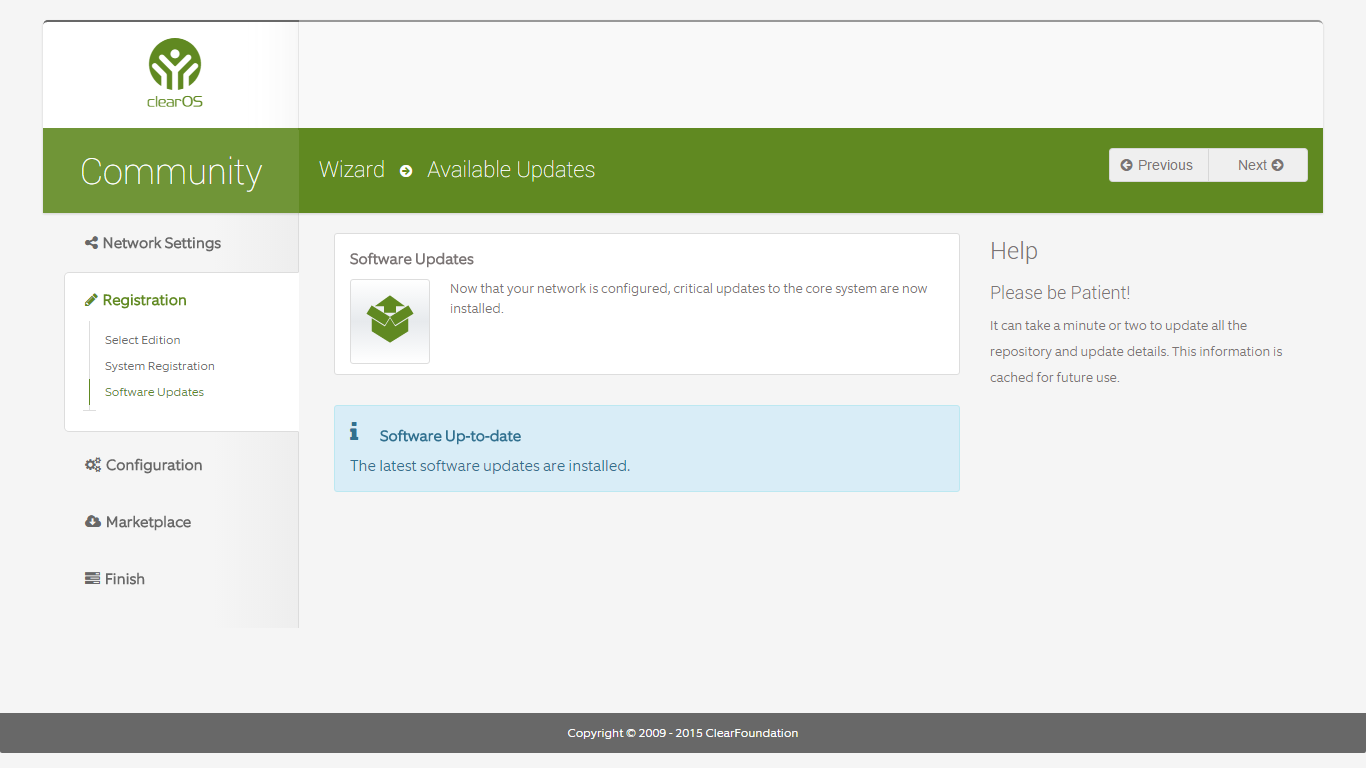
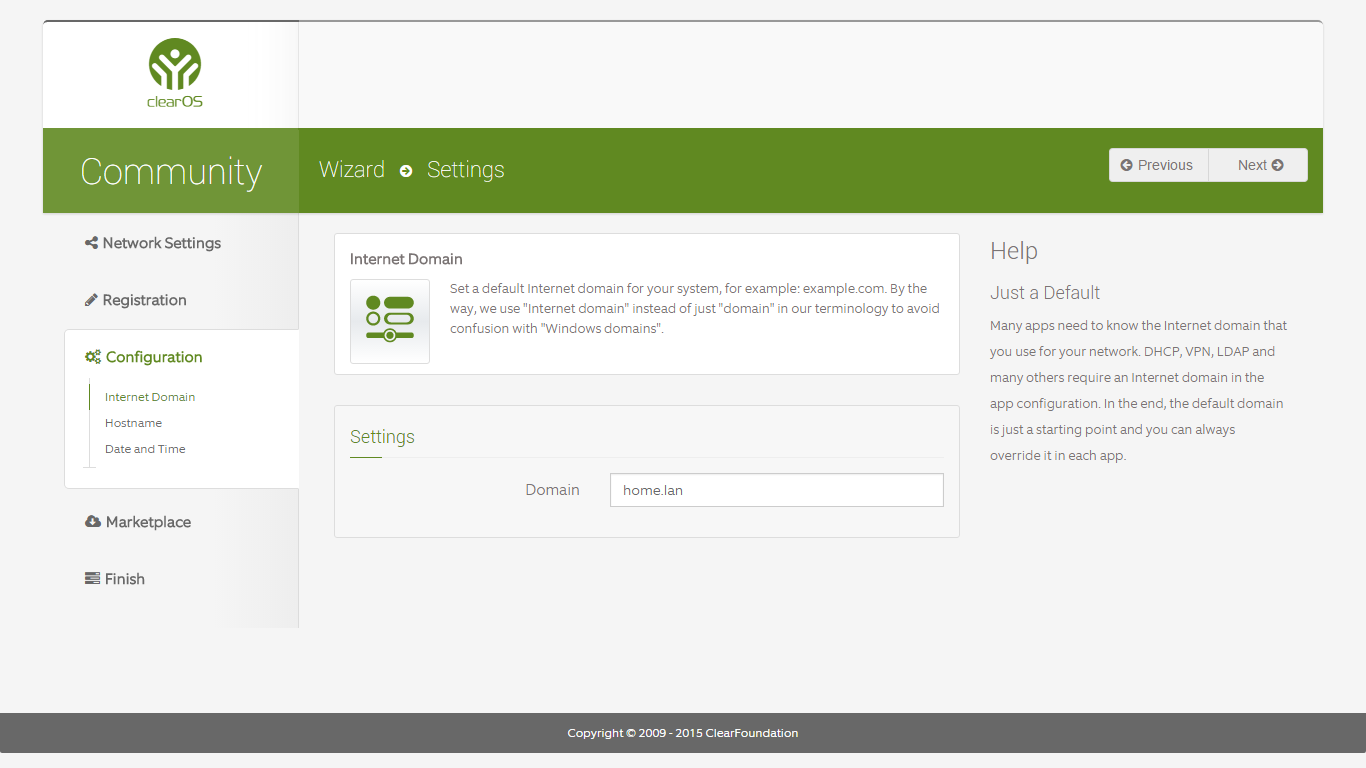
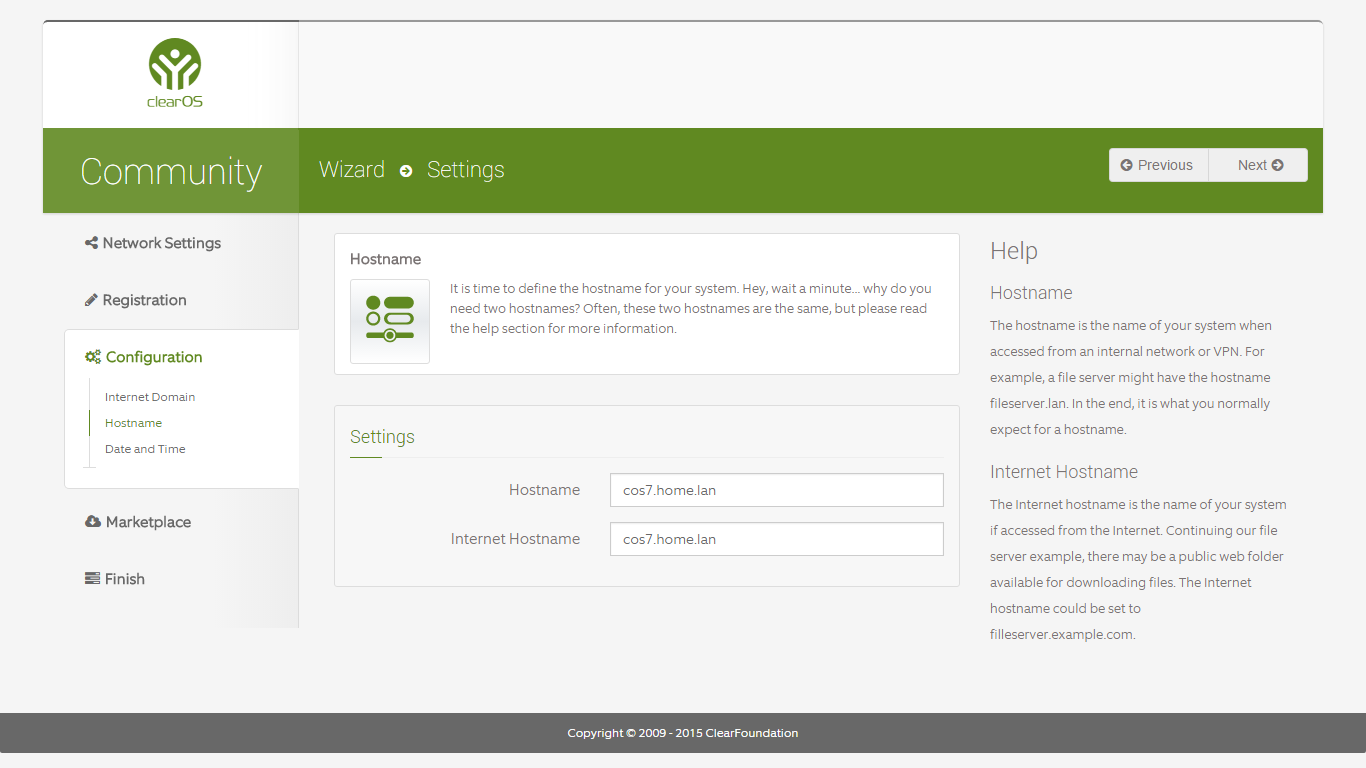
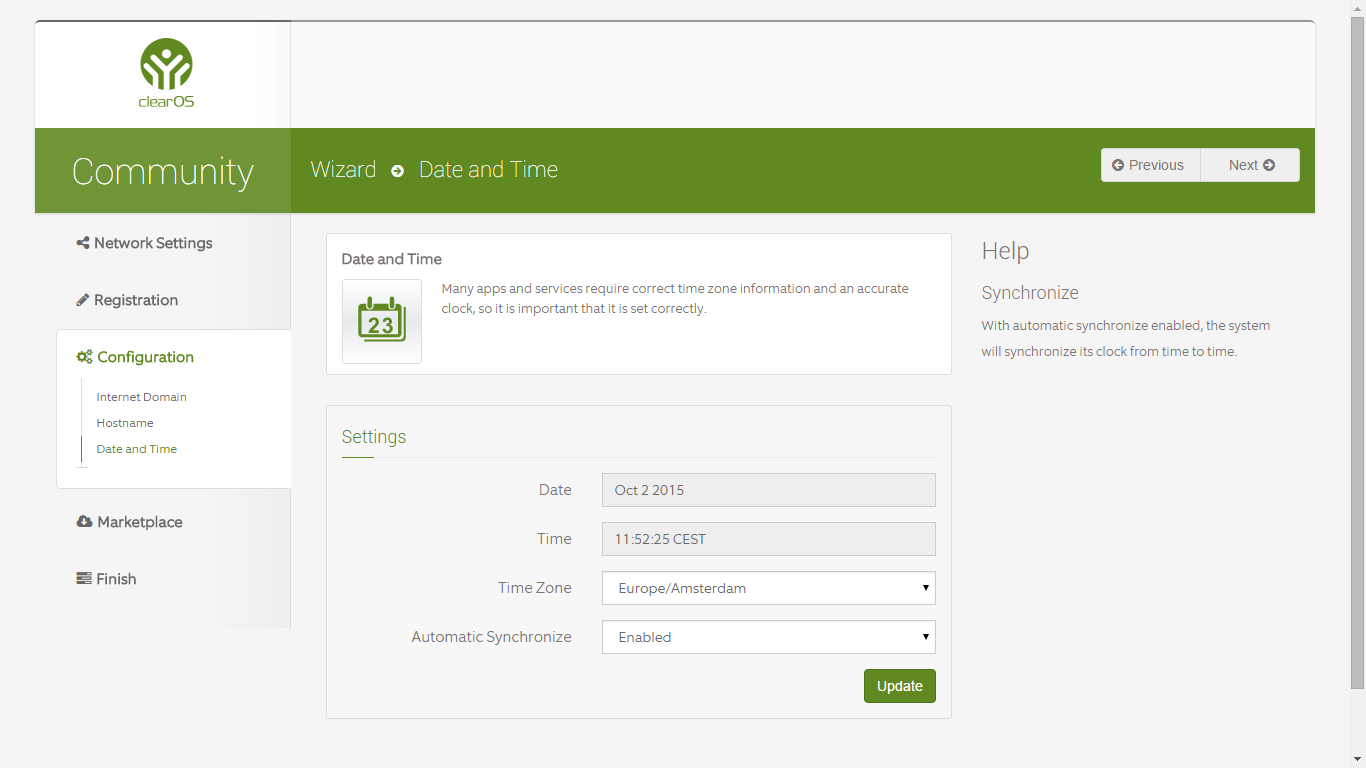
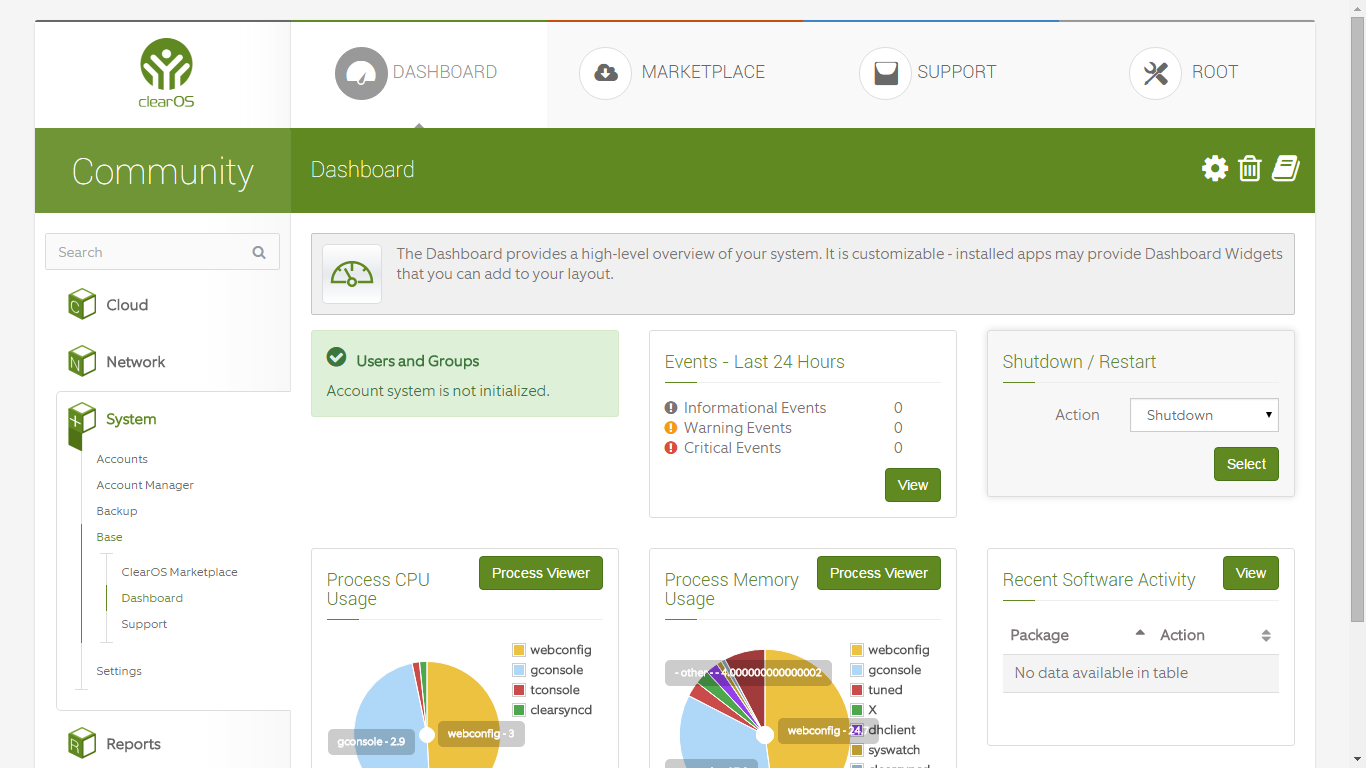
After installation on your hardware (bare metal or VM), the post install wizard of ClearOS starts. Every page has a Previous and Next button on top. Fill in all the details (see screenshots below) and click Next. It will be over in a minute. Click for a larger image on the specific screenshot.
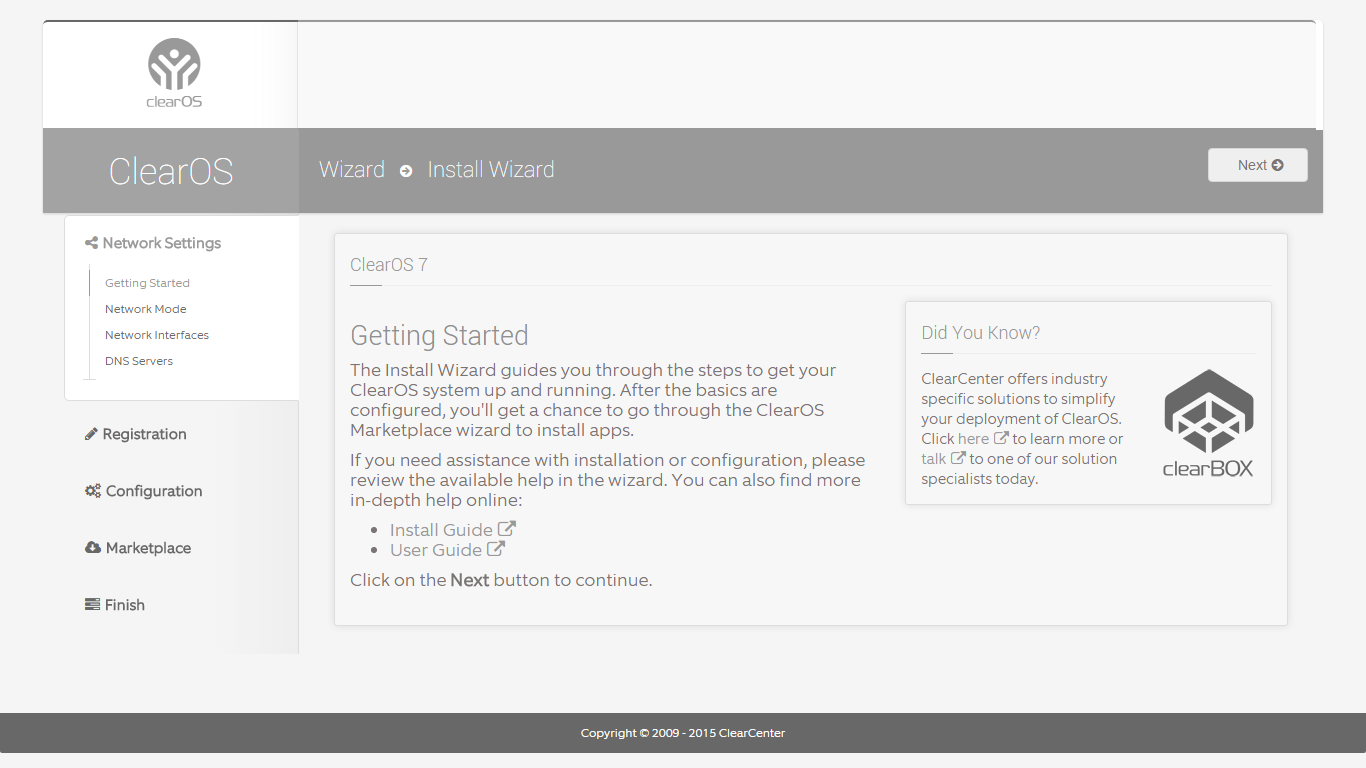

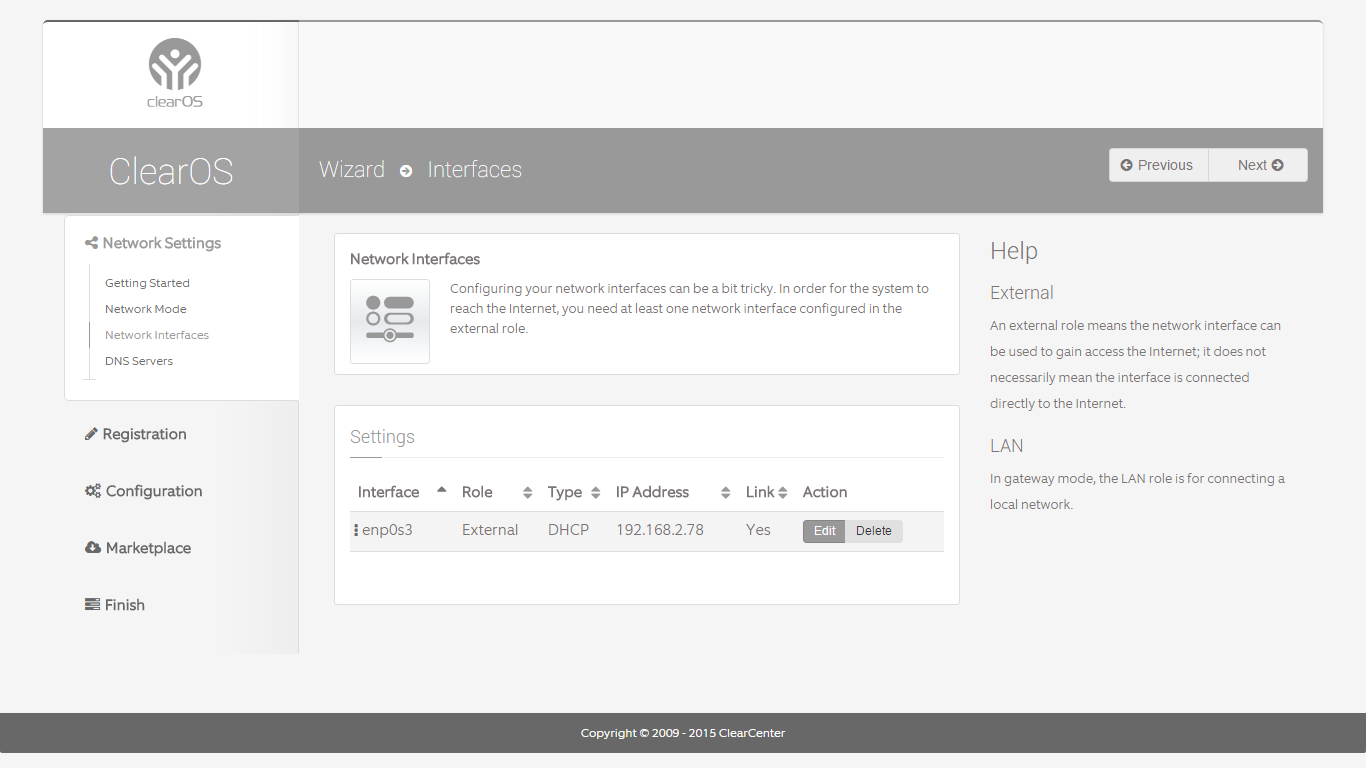
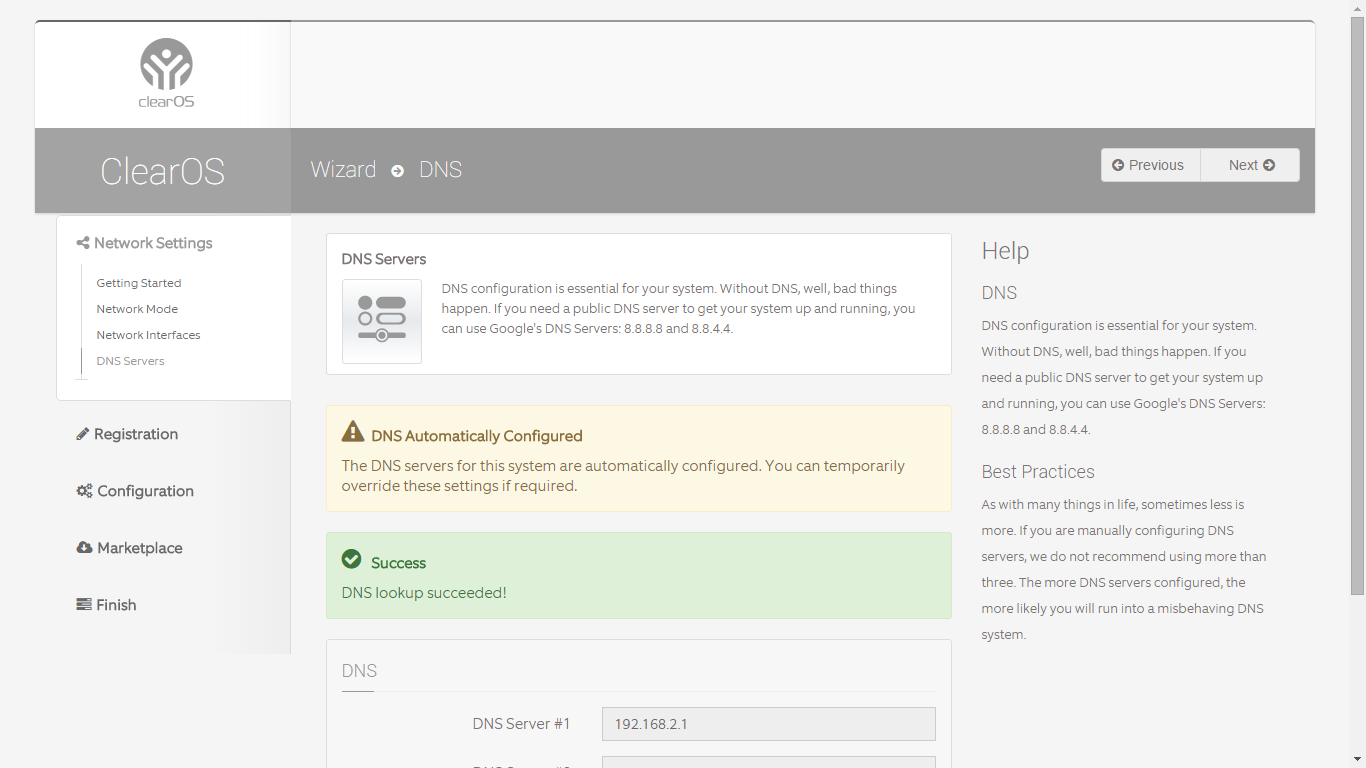
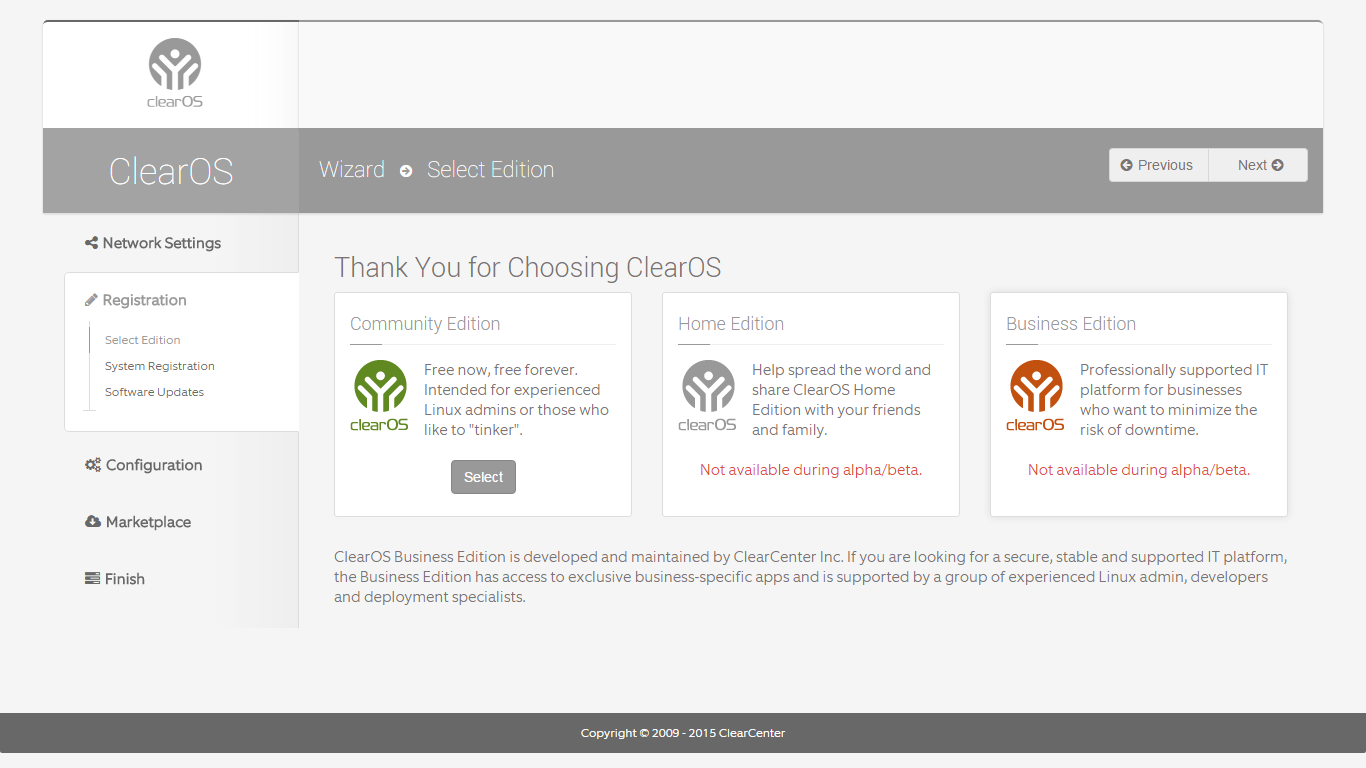
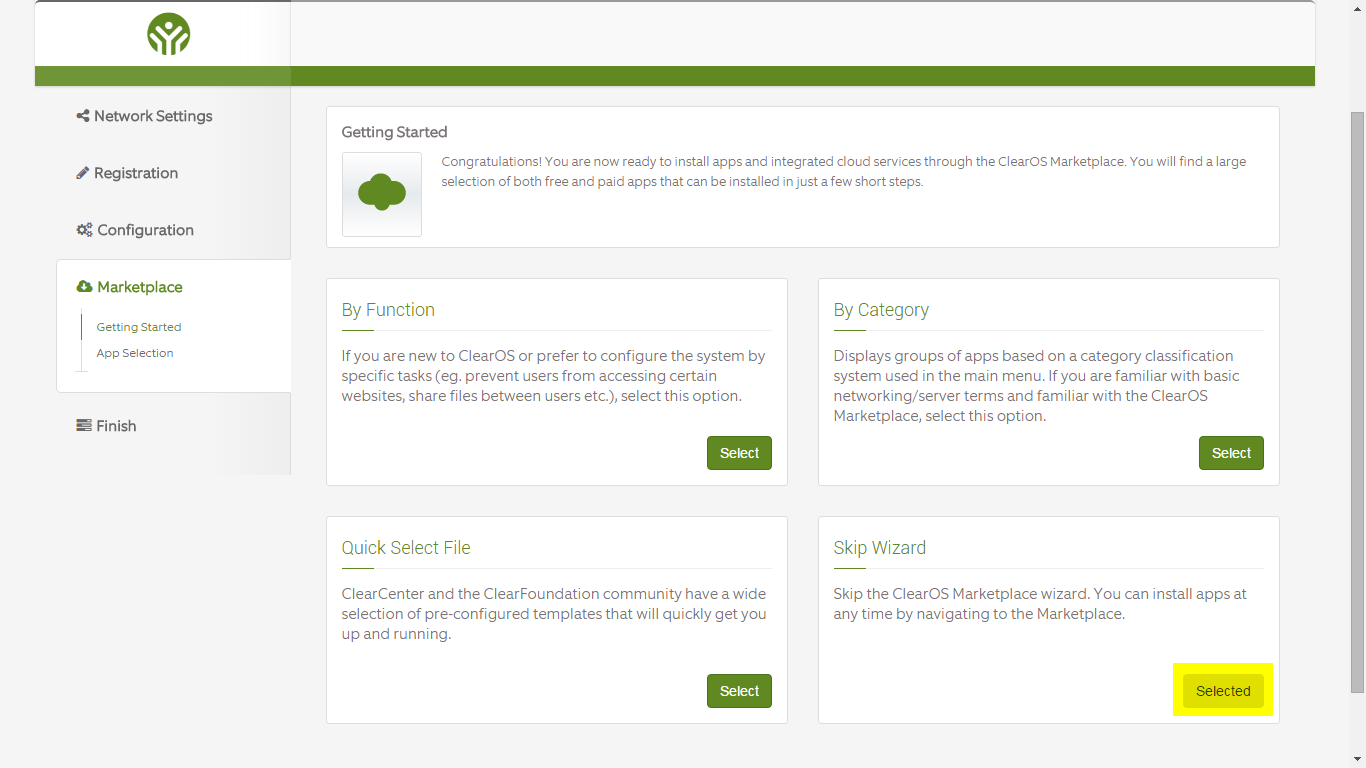
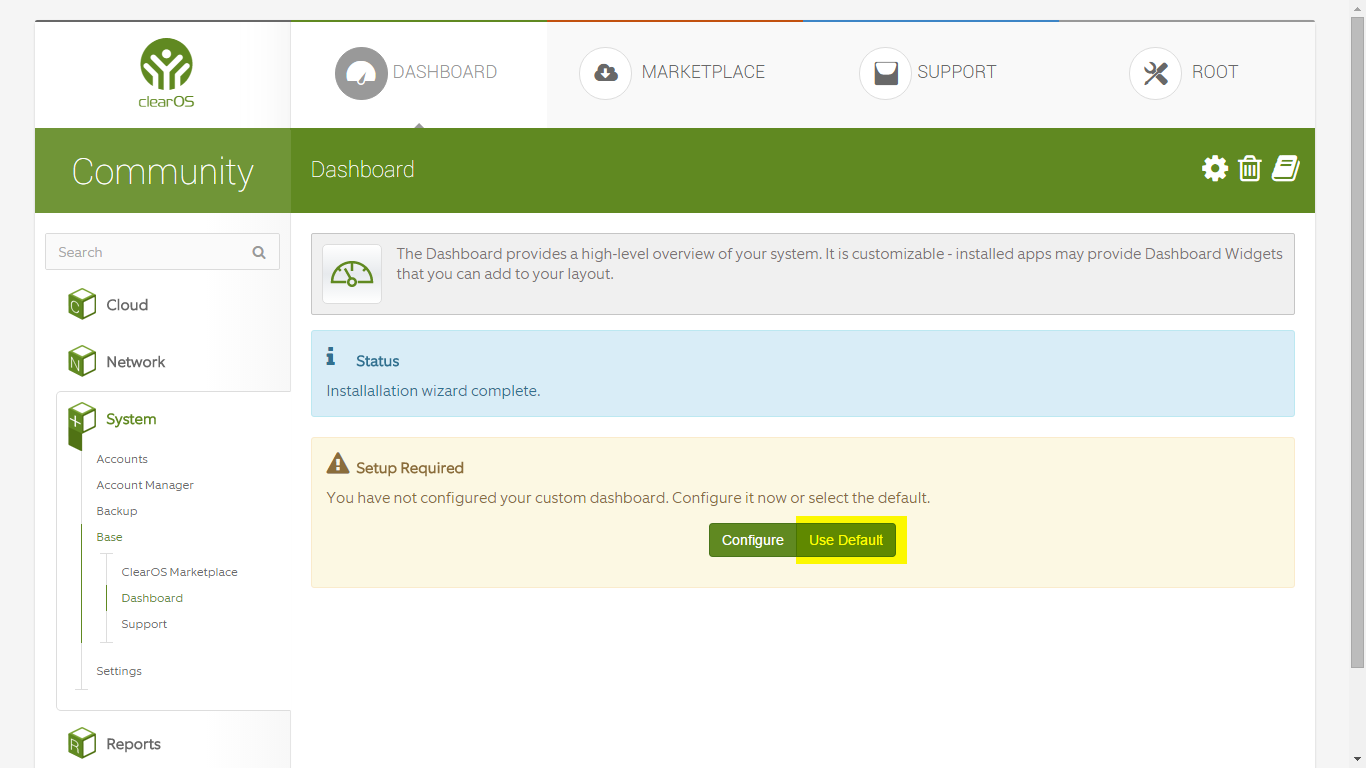
You’re done! The installation is finished. Let’s start building this NAS.
Install Packages
Let’s try and isntall a bunch of packges we need. Open a PuTTY session from your Windows machine to the new server’s ip address or hostname. Logon as root and type (or copy/paste) the following command and press Enter:
# yum -y install \
app-openldap-directory \
app-samba \
app-flexshare \
app-mariadb \
app-web-server \
app-antivirus \
app-file-scan \
app-shell-extension-core \
app-services \
app-system-report \
app-process-viewer \
app-resource-report \
app-network-report \
app-network-visualiser \
app-log-viewer \
app-software-repository
This will download and install around 200 MB of packages. Sit back, relax and watch the show.
[...]
Transaction Summary
==========================================================================
Install 13 Packages (+81 Dependent packages)

Total download size: 164 M
Installed size: 408 M
[...]
Just to be safe, restart your server.
# shutdown -r now
Your PuTTY session will disconnect.
LDAP and PDC
LDAP setup
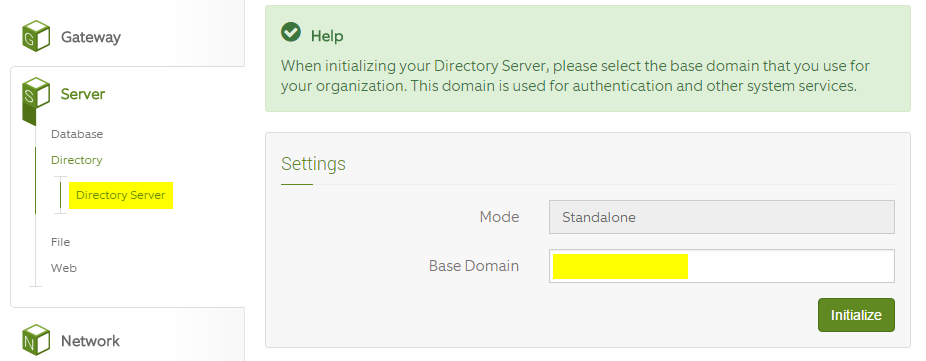
Logon to the ClearOS webinterface https://<ipaddress>:81 and go to Server – Directory – Directory Server in the left menu. In the right pane enter the base domain details you want the LDAP to use i.e. “home.lan” or “<yourname>.lan”. Click the Initialize button when ready.

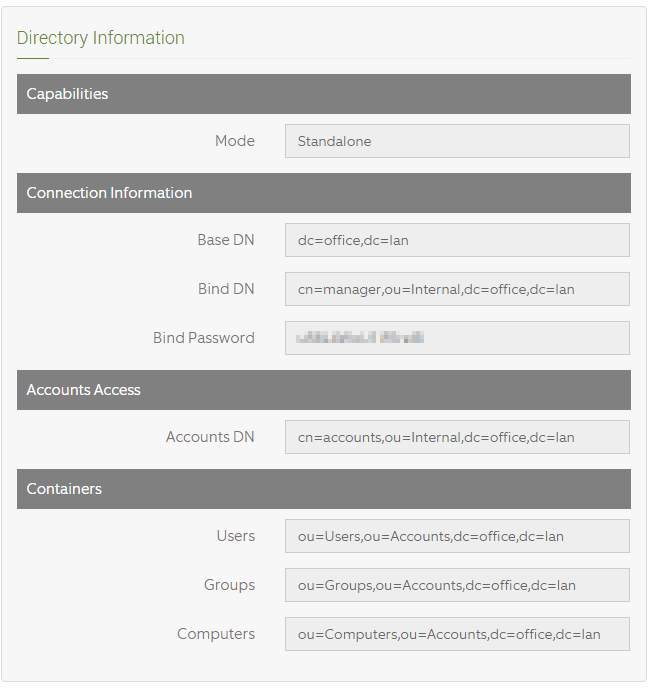
After a few seconds your LDAP has initialized it’s database. All LDAP details are shown.
LDAP users and groups
Now it’s time to fill the LDAP with users their information.
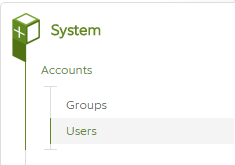
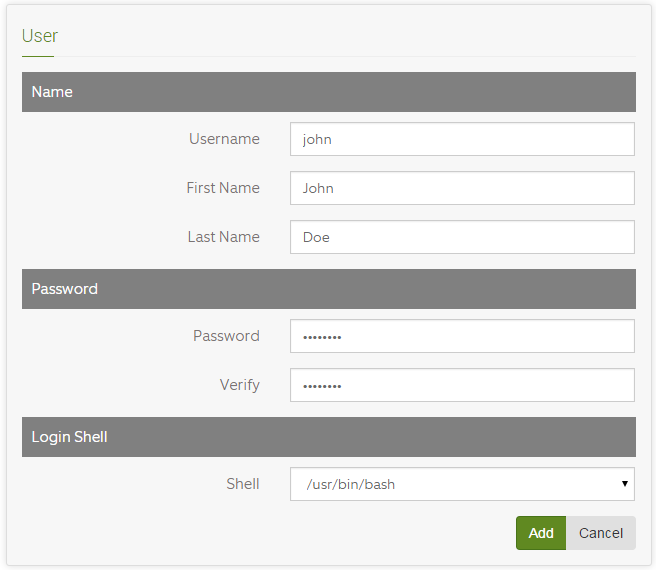
Got the menu System – Accounts – Users and click the Add button on the User Manager page to add a new user.
Keep adding new users untill you had enough. If you want the users to access bash with PuTTY or within scripts, choose ‘/usr/bin/bash’ at Login Shell.
Note: Also add a user called ‘nzbuser‘
PDC setup
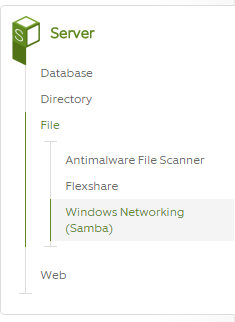
For PDC to work for the users we just created, we need to setup Samba the right way. Go to Server – File – Windows Networking (Samba) in the left menu.
Enter the server machine name and the domain you want your Windows clients to use. Also enter the password of the administrator of the domain. Remember this account ‘winadmin‘ and it’s password. You need it when you add Windows clients to the domain controller.

When done hit the Initialize button and let the magic happen.
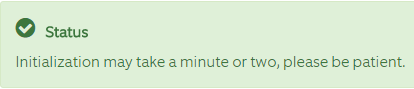
After a few minutes/seconds the initializing finishes and you’ll see the details of your PDC setup.
LDAP and PDC are now ready.
Database and Webservices
Database tweaks
First change some of the configuration of the MariaDB database. Logon as root with PuTTY and type:
# vi /etc/my.cnf
Add a new line, see below, line 11:
[mysqld]
datadir=/var/lib/mysql
socket=/var/lib/mysql/mysql.sock
# Disabling symbolic-links is recommended to prevent assorted security risks
symbolic-links=0
# Settings user and group are ignored when systemd is used.
# If you need to run mysqld under a different user or group,
# customize your systemd unit file for mariadb according to the
# instructions in http://fedoraproject.org/wiki/Systemd
#
character-set-server=utf8
#
...
Save the file and start the database for the first time.
# service mariadb start
The database should now sucessfully start. When checking it’s status, it shows:
# service mariadb status
Redirecting to /bin/systemctl status mariadb.service
mariadb.service - MariaDB database server
 Loaded: loaded (/usr/lib/systemd/system/mariadb.service; disabled)
 Active: active (running) since Fri 2015-10-02 15:42:14 CEST; 1min 52s ago
 Process: 24230 ExecStartPost=/usr/libexec/mariadb-wait-ready $MAINPID (code=exited, status=0/SUCCESS)
 Process: 24202 ExecStartPre=/usr/libexec/mariadb-prepare-db-dir %n (code=exited, status=0/SUCCESS)
 Main PID: 24229 (mysqld_safe)
 CGroup: /system.slice/mariadb.service
 ├─24229 /bin/sh /usr/bin/mysqld_safe --basedir=/usr
 └─24399 /usr/libexec/mysqld --basedir=/usr --datadir=/var/lib/mysql --plugin-dir=...
We need to enable the database to start automatically with every boot of the machine, so:
# chkconfig mariadb on
Improve security MariaDB
Run the script “mysql_secure_installation" to make MariaDB a saver place. The script will:
- make a root password
- disable anonymous user logon
- lock down remote root logon
- delete the test database
Go to your PuTTY session and enter:
# mysql_secure_installation
Example:
# mysql_secure_installation


NOTE: RUNNING ALL PARTS OF THIS SCRIPT IS RECOMMENDED FOR ALL MySQL
      SERVERS IN PRODUCTION USE!  PLEASE READ EACH STEP CAREFULLY!

In order to log into MariaDB to secure it, we'll need the current
password for the root user.  If you've just installed MariaDB, and
you haven't set the root password yet, the password will be blank,
so you should just press enter here.

Enter current password for root (enter for none): <enter>
OK, successfully used password, moving on...

Setting the root password ensures that nobody can log into the MariaDB
root user without the proper authorisation.

Set root password? [Y/n] Y
New password: <password>
Re-enter new password: <same password>
Password updated successfully!
Reloading privilege tables..
 ... Success!


By default, a MariaDB installation has an anonymous user, allowing anyone
to log into MariaDB without having to have a user account created for
them.  This is intended only for testing, and to make the installation
go a bit smoother.  You should remove them before moving into a
production environment.

Remove anonymous users? [Y/n] Y
 ... Success!

Normally, root should only be allowed to connect from 'localhost'.  This
ensures that someone cannot guess at the root password from the network.

Disallow root login remotely? [Y/n] Y
 ... Success!

By default, MariaDB comes with a database named 'test' that anyone can
access.  This is also intended only for testing, and should be removed
before moving into a production environment.

Remove test database and access to it? [Y/n] Y
 - Dropping test database...
 ... Success!
 - Removing privileges on test database...
 ... Success!

Reloading the privilege tables will ensure that all changes made so far
will take effect immediately.

Reload privilege tables now? [Y/n] Y
 ... Success!

Cleaning up...

All done!  If you've completed all of the above steps, your MariaDB
installation should now be secure.

Thanks for using MariaDB!
Webserver setup
Logon to the ClearOS webinterface https://<ipaddress>:81 and go to Server – Web – Web Server in the left menu. Click the big green button telling you to Configure Security Certificates. You just need to.
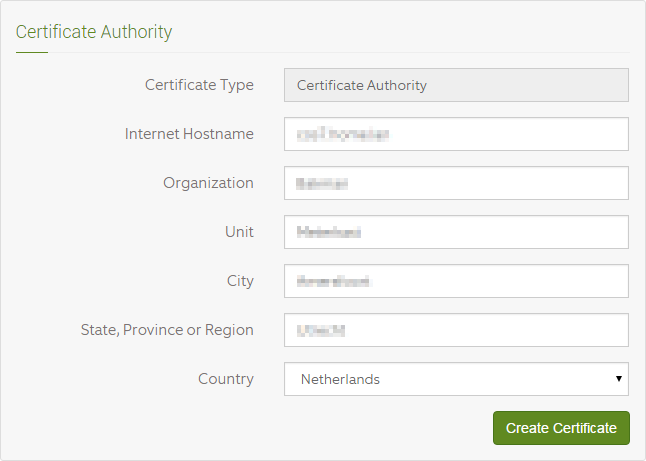
When done click the Create Certificate button. Done.
What… wait… you are now suddenly somewhere else in the menu structure. Don’t panic, just go back to the Web Server menu item. Click on the Configure Default Web Site button.
Enter a hostname and alias for your default web site and click Add.

Done. Let’s test the default website.
Start a session in PuTTY, logon as root. Create a simple php page:
# vi /var/www/html/index.php
Take the following code
<?php

// Show all information, defaults to INFO_ALL phpinfo();

?>
paste it in your vi editor and save the file.
Open a web browser on your client machine and enter the ip or hostname of your server. You should see the PHP version page.
http://<ipaddress> or <http://hostname>
You should now see the default webpage.
Note: If you see the default congratulations from ClearOS (with it’s logo), you can rename or remove the /var/www/html/index.html file. Or, instead, add “index.php” to the DirectoryIndex part of the file /etc/httpd/conf/httpd.conf.
Things get beefed up in the next chapter…
